Showing posts with label Afrika. Show all posts

Wednesday, 8 August 2012

Club Sunday 5th August

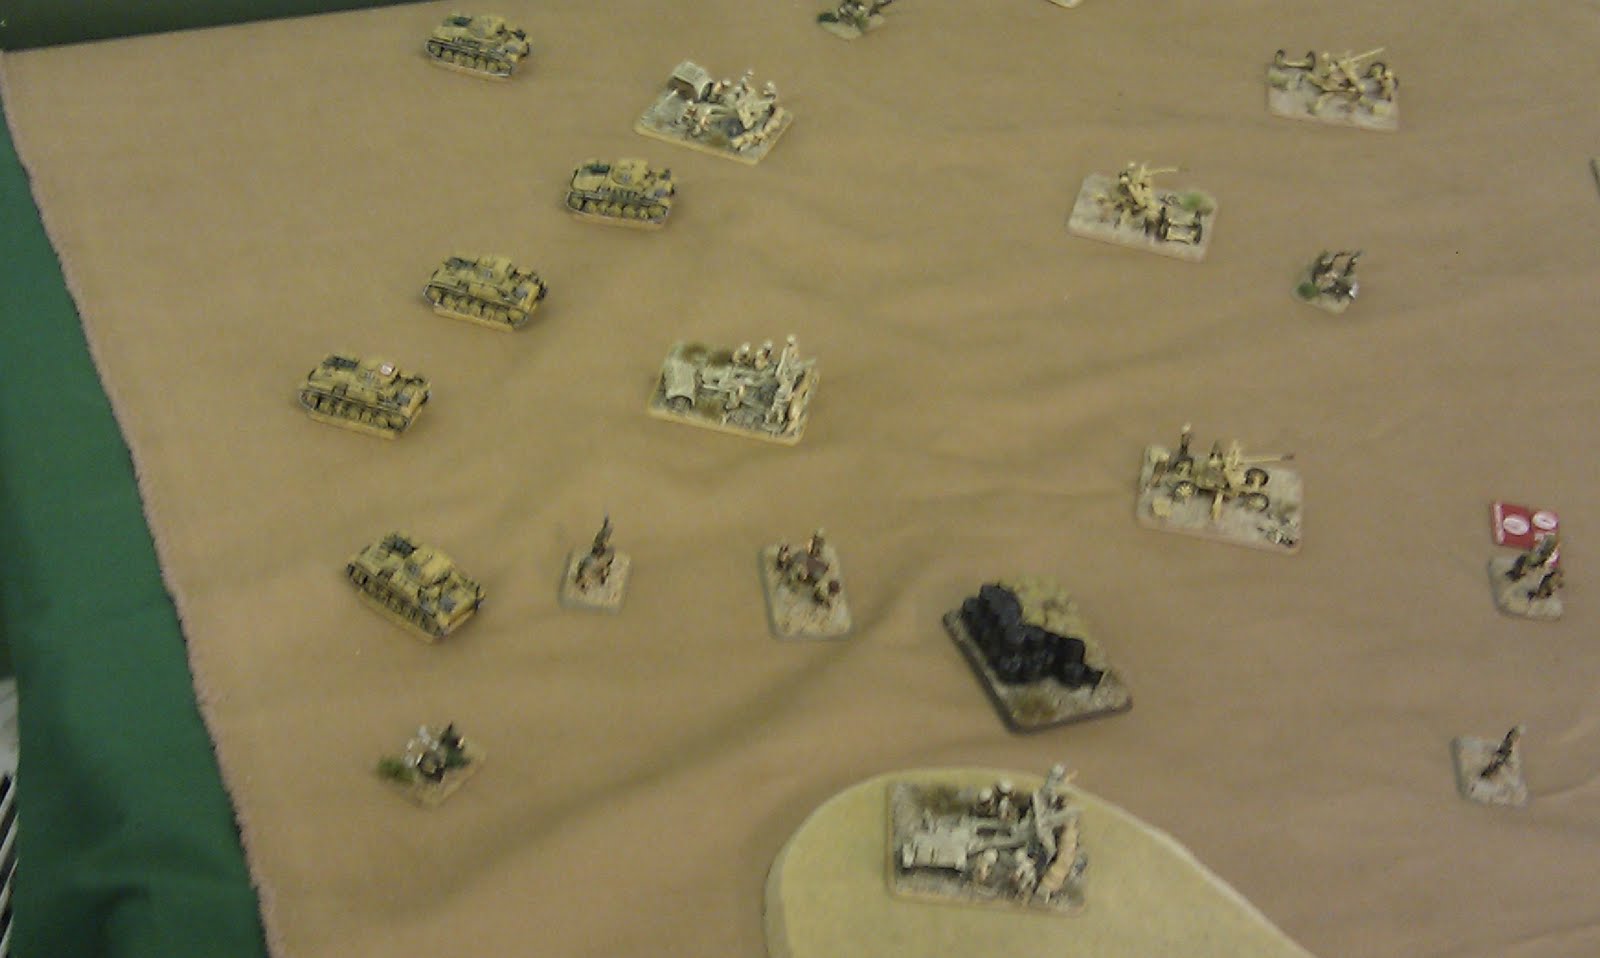
Luke and I headed up the club on a Sunday for the first time in quite a while to play the Ras-el-Madur scenario from Wargames Illustrated 263. We having been planning to run this for a while. We used the force list from the magazine, but the organisations and stats from Hellfire and back as more suitable for early war.

Luke took the defenders and I took the attackers. My initial advances went well as the defenders failed to see my troops and my pioneers cleared wire and minefields while my tanks knocked out MG pits. However as I advanced the going got tougher as I came in range of 2 and 25 pounder fire and began to lose tanks, while the artillery and small arms fire was beginning to inflict very heavy casualties on my pioneers.

However, although some reserves had arrived for the defenders, I had weathered and destroyed their ambush and the Italians has arrived. They were now moving up towards the battered defenders. The first unit tool heavy casualties and was wiped out, but not before damaging the defenders. I then launched the feared Italian tankettes (!) at the box, and got totally hung up on the wire. A second attempt was more successful and the box fell to the Italians as the tankettes occupied it followed up by their infantry.

To the left of the box the German armour was struggling on the inner minefield and covering 25 pounder, but to the right I was rolling up the MG pits and managed to destroy the 8th I needed to claim victory just as the nearly indestructible I tanks arrived (fortunately these kept breaking down keeping them away from me for as long as possible).

The Axis forces had just managed to claim victory, but it was a really tight game and great fin and proves that FoW can be used for historical scenarios as well as points battles and works just as well.

Above: Attacking the first box, below: Massed armour moves to outflank it

Above: Even of the first position is cleared there was much more to go, below: the Italians move up

Above: The last Aussies in the forward box await the next attack, Below: The last survivor is saved as the Italian tankettes get hung up on the wire
Below: The Italians take the position to claim victory

Thursday, 26 July 2012

Game night with Luke, 24th July

Luke and I managed to fit in our first mid-week game for quite a while and went back to the good old Flames of War. We decided to ply mid war, and by coincidence both try out something different. I took a Compangnia Carri with some allied Panzers and Luke took an Infantry company with I tank support.We played a no retreat mission.
I decided to mass most of my forces down one flank in a single-minded drive for one objective (above), while Luke spread his force more evenly, with slightly more against my main attack, but the other side had a town to complicate matters (below)
As I launched my main attack I quickly encountered problems. We play that we roll a general terrain type up from the 2nd ed. rule book and then roll for type when contacted using the tables from Hellfire and Back. This meant I knew that there were wrecks in front of me, but it was only as I moved forward I discovered most of them were actually minefield which channelled my force even further. To make matters worse my first assault by armoured cars was driven back by defencive fire.

On the other flank I had discovered the 2pdrs in ambush and attempt to assault them but was repelled, so my armour swept to support the other flank. Here I had managed to assault again, but was again repelled except for the last platoon I could attack with, that managed to drive the Brits out of their defences.

There now started a couple of bitter turns of fighting as Luke desperately tried to hold on and prevent my victory while waiting for reserves. It was now a race for me to drive him off properly before the I-tanks arrived and stared rolling me up as I had very little that could cope with them. Fortunately I as just able to drive him off, they had arrived, but had not got near enough to be a threat. The burning wrecks surrounded the objective (below), but the Italians had captured it and won very a hard fought battle.

Saturday, 23 June 2012

Club Night June 22nd

Steve K and I decided to do a mid-war FoW desert. I took my favourite RECAFM force with the usual mix of light tanks and armoured cars, but with some heavier guns backing them up as I know Steve may use Grants so didn't want to get caught out. As it turned out Steve took an infantry company so I needn't have feared and found myself attacking in a Hasty Attack scenario.

I set the objectives in opposite corners and Steve placed his in the middle so his force was stretched across the entire table before removing one of the flank objectives. Despite this I still planned to attack on both flanks in a pincer, so I would either capture the flank objective or turn the flank and drive for the centre objective.

On one flank I attacked with most of my light armour, the other was my motorcycle mounted infantry and some armour support. The Sevormette supported this flank and the 90mm on Lancia trucks the other flank. While I rushed forward these heavy guns used their giant shells to shoot the Bofors out of their fox holes in the centre, as these high RoF guns cause my light armour real problems. I did lose one to return fire from a MG platoon, but the other was out of range so was safe to engage for the entire game.

My Motocilisti struggled at first as they failed to Avanti off their bikes, but the 25pounders right in front of them failed to do damage and they were able to assault and gradually roll up the heavy guns. On the other flank the armoured cars were stopped initially by defensive fire, but a second attempt was more successful and despite mounting casualties they drove off the infantry platoon and its attached mortars and started to turn for the centre.

However on the other flank the Motocilisti had pushed on and seized the objective and the British had nothing left to drive them back and so the Italians claimed a hard fought victory.

Wednesday, 23 May 2012

Club Night 18th May

Luke and I played the next in our very slowly running early desert axis of attack campaign. This time the British were attacking, and had rolled a hold the line scenario, so the Italians were not only defending but had extra defences to help them out.

While the Jock Column is good on the move it really doesn't have the strength or heavy firepower to assault a fixed position and suffered accordingly to massed defensive firepower where the small number of men in the units to enable the truck mobility meant they could ill afford the losses and it was an easy Italian victory.

Sunday, 18 March 2012

Club Night 16th March

Luke and I decided to give V3 another good play through (since the campaign had been V2 the finale was also V2 rules), and to try out some proper mid-war forces. Luke took a Grant squadron and I took my Squadrone Esplorante supported by tanks and self propelled guns. The first mission saw Luke attacking a breakthrough mission.

With my light armour dashing around to get flank and rear shots on the heavy Grants it quickly degenerated into a proper knife fight engagement, while my infantry tried to hold onto the village overlooking the objectives. However the heavy weight of the British armour proved my undoing and I was defeated in a great game.


Unfortunately our second game was not anywhere near as fun. It was the surrounded mission with me in the centre. With the open terrain and little room for manoeuvre and heavy armour on both sides I was smashed by the 75s using semi-indirect fire as I tried to close to a position where I could actually engage them.


Two games vs Luke. RECAM vs Grant sqdrn. Breakthrough, then surrounded.

Tuesday, 6 March 2012

Club Sunday 4th March

We finally managed to reschedule our campaign finale for Operation Crusader. With the British attempt to break out from Tobruk a failure it was already an Axis victory, but now I launched my forces in a final attempt to take the city against their reduced defenders.

To make a proper finale Luke came up with a 3 linked battle scenario. A force of Italian Bersaglieri had broken trough the lines and where in a cauldron scenario, whole another force launched an all out assault on another part of the lines, while my RECAFM force of armoured cars and light tanks launched a break through. The idea was that the breakthrough table led into the Italians side of the cauldron table, and the British side of the cauldron table led it the rear of the defences on the all out assault table. Forces could only move off one table to the next once they had won their table and took a full turn to arrive (the dust and noise signaling their potential arrival). In addition all undeployed troops formed a reserve pool and could be committed to any table, although no table could receive more reserves than it rolled to arrive.

I took my RECAFM force against Steve, while Luke commanded the defences against Scott's assault and new member Colin took the Allies against Rick on the final table.
I started with my usual recce moves and then smashed into one flank of the defenders and began rolling up their line, while on the other flank I chose not to dig my guns in and to use their full ROF to remove all threats. This very nearly worked, I certainly removed most of the anti-tank threats to let my armour roam free, but failed to knock out the MGs that then caused massed casualties among my artillery.
Meanwhile my vehicles swept around the flank and pushed on towards the objective. On the main assault Scott was pushing forward , while Rick had destroyed the immediate threats to his positions, but was coming up massed artillery fire and was unable to respond effectively.

As reserves began to arrive, we committed the mobile forces to my table and my motorcycle infantry joined in on the attack on the objective, while pioneers supported the main assault. With a secure position Rick received very few reserves. On the allied side Luke was left holding his defences with only the few units he started with, while Rick found more and more artillery added to his opponent and I faced all the light armour and anti-tank they could muster to stop my armoured cars.
Gradually numbers told and my force broke, while Rick had been pounded and with the arrival of Steve's forces was in an untenable situation. The bright spot for the Axis, is with no reserves Luke was in an increasingly stretched position and Scott finally became the first player to breakthrough and win an all-out assault.

Despite losing two and the three games and so losing overall, it was a Pyrrhic victory for the Allies as they had ultimately lost and their offensive had been repelled.

Club Night 2nd March

Luke, Steve and I played an early war Flames of War as our first test of the new 3rd edition of the rules. I took an infantry force, supported by all 12 of my new tankettes and Luke took a Jock column with Steve assisting him.

With two relatively immobile forces and a meeting engagement scenario this was always going to be a slow game. The British sat back, while I attacked with my tankettes on both flanks and initially made really good progress with massed machine gun fire and the limited anti-tank the British had. As I closed on the objectives it all went wrong though.

Under massed rifle fire I rolled massed of 1s and 2s and saw many of my tankettes stopped in their tracks or destroyed in the ensuing combat. Having been neaten back I launched an infantry assault on my left flank, but this met similar resistance.
At this point I know I was near to breaking and pulled back to try and stem the British counter attack, which was then launched and, with the loss of my CO, when I did reach breaking point they one.

I actually found this a very frustrating game as I was forced into attacking in what should have been a meeting engagement, and instead was an attack by me on an equal force that was really doomed to failure from the start.

On a more positive note I think the 3rd edition rules are exactly what a new edition should be. Eased by the fact 2nd edition players got a free copy, I think the club was always going to move onto the new edition, but I think this is a good thing, all the changes are for the best and see to properly evolve the rules, rather than changing for the sake of a new edition. The only thing I am less happy about is the auto-range in for aircraft. It makes sense in most theatres, but in the desert with no terrain to hide in they can become very powerful, especially when with the Italians I have very little AA compared to the Germans and, especially, the British Bofors.

Saturday, 31 December 2011

Club Night 28th December

As a mid week, post-Christmas game Luke, Duncan and I decided to play a flames of war desert game. Duncan has been reworking his Germans to suit early war as well as mid, but only had tanks done, so we played 3,000 points, with me using my army I have been using against Luke in the axis of attack game to provide the infantry and he provide the Axis armour. Against this Luke fielded a Crusader company. We played the desert dust up scenario from Hellfire and back.

Luke started with his artillery, infantry and machine guns on table, while I dug in my infantry around our objective. The German armour then began a head on attack on the British positions, pressing them hard, and demonstrating the difference between the quality of the tow Axis nations vehicles as Luke struggled to knock them out.

As the Germans pushed centrally and my Italians dug themselves deeper in around our objective we could see the reserves could be decisive. And here we had the luck, a few British tanks turned up but had to manoeuvre around the wadi, bringing them towards the centre of the board, in range of the anti-tank guns and German armour. By the time the rest arrived it took so long to get into position it was too late as on the other flank the Italians had won it.

The Italian reserves hurried on in the opposite corner and despite casualties pushed on towards the objective, managing to overrun the machine gun platoon. Once again the L3 tankettes proved their worth. Finally the demolisher platoon pushed on to the objective, only to have their commander gunned down, but we then discovered he was an unknown hero and I could now pass my motivation on a 2+, which I did, hanging in there to claim the objective and victory for the Axis forces.

Friday, 23 December 2011

Club Night 23rd December

As it was almost Christmas and finish work early day so I headed up early with Steve K to meet Luke and play some early war desert games as it has been a while. Also the club has juts bought the desert fort and we were keen to try it out.

Our first game had me take a Compagnia Mitraglieri of two platoons, with a fort, an AT platoon, and a cannon battery with a Meharisti platoon and Autosahariana platoon in support, fighting a withdrawal against a British rifle company.

This first game did not go well. Attacking under darkness I could not see the British until they assaulted the fort and pushed me back and almost out twice, while on the other flank they took the objective without me even seeing they were there! My poor deployment had exacerbated some poor dice rolls and lead to my quick defeat, still at least it was early and there was time for more games.

The second game saw my force unchanged, while the British gave up their artillery and took a pair of Matildas. This was going to be an issue as I had a slim chance of bailing them out if they exposed a flank to my 75s, otherwise I could not hurt them. Playing a hold the line scenario I decided to use my fort to make an issue of the game by deploying it quite far forward in to no-mans land and forcing them to pass close to it to get to the objectives.

Despite the sneaky Brits again trying to creep forward under nightfall, there must have been more moonlight as I clearly saw them and demonstrated the power of massed machine guns, even in the hands of the poorly trained Libyans as my opening volley reduced one platoon to two stands which ran away and damaged the other, which subsequently tried to assault the fort but was eventually defeated too.

To the left of the fort the armour moved forward with impunity with infantry support to encounter an ambush Mitraglieri platoon which forced the infantry to stop and dig in for survival, but made no difference to the tanks which continued there relentless advance. Again and again they assaulted the infantry driving them back so they became intermixed with the anti-tank guns and the Meharist, but although I was able to deny them the objective I could not stop their attack.

However on the other flank the Autosahariana rushed forward, speeding up as dawn broke and swept into the British rear decimating their support unit and breaking the enemy before the tanks could drive off the massed infantry trying valiantly to hold the objective on the other side.

One game all and time for a final game. A total change this time as Steve and Luke took an Australian Divisional Cavalry squadron while I took a Positione Fucilerito try something different. And as we found ourselves playing an encounter battle this could be tough for me, as although me defences might make it easy to deny the enemy victory, pushing forward to take an objective for the win could prove tricky.

After a couple of false starts I think I deployed my fortifications legally with one platoon covering each side of the table and a cannon battery covering one objective on one flank and the howitzers on the other flank. And it began to go wrong immediately. The howitzers were pinned by the enemy artillery and for the rest of the game repeatedly failed to unpin and also eventually lost three guns to the fire as well. But worse was to occur on the other flank. The armoured cars had recce'd forward and then dashed in and assaulted the cannon battery. With 8 shots against lightly armed vehicles I felt confident and then missed with 7 shots, lost the assault and fell back being wiped out in the process.

I now needed to do something decisive. My 47mm gun nest covering the objective destroyed the pesky armoured cars, but my force had still taken a big hit. And armoured forces still streamed forward on that flank to try and take the objective. Fortunately my trusty L3's turned up on that flank and the Solthum armed tank proceeded to knock out a vehicle a turn until overwhelmed by the sheer amount of fire. By now I had also managed to get a mortar platoon deployed in the trenches abandoned by the cannon battery but they got pinned down and remained so for the rest of the game, but somehow managed to survive when numerous vehicle trying to get at them got stuck trying to pass over the gun-pits also vacated by the cannon battery.

On the other flank my 3 tankettes had arrived and proceeded to bombard the Australian Vickers machine guns and to my surprise caused heavy casualties. Behind them the demolisher platoon crept forward taking lighter causalities than expected from the surviving enemy machine guns. Eventually however the tanks strayed within range if the 25 pounder and met their inevitable end, but by now the engineers had got close enough to assault and wipe out the machine guns.

They were not quite close enough to the objective though and had to move forward and brave a turn of enemy fire. Everything engaged them, Bofors guns, infantry, 25 pounders, even the 2-in-C in his MkIV tried to dash across but ended up out of range. It was now time for dice to turn in my favour. Despite the mass of fire I lost my last rifle base, and even the platoon command was hit, but decided he was an unknown hero, so remained, and improved the chances of the platoon hanging in there, which they did.

All that was left was for him to pass his last man check at the start of my turn and victory was mine! I nervously rolled the dice, but the fickle gods of luck where back with me and I managed to make it 2-1 to the Italians. A great afternoon of dashing about in the blue (or in the case of my Italians, finding a big fort or trench and hiding in it!).
Monday, 7 November 2011

Club Sunday 6th November

We gathered up the club to play the finale in our Crusader campaign, but some events conspired and so we could not really proceed. Instead we threw together a quick total war game using the desert forces we had. Due to numbers I found myself on the Allied side so took a compact little Divisional Cavalry Squadron, to fight alongside an infantry company and a tank squadron against a Panzer company and a Bersaglieri battalion. Rather than recount all the details as lots happened I will just illustrate them with some photos.
Above: Initial deployment on the diagonal
Below: The Australian Cavalry dash into a depression and try to hold on against the Italians

Above: Another shot of the position in the depression
Below: German armour surrounds the Aussies, Grants arrive to the rescue and artillery continues to land in the depression
Above: German armour arrives behind the British artillery

At this point I got all caught up in the game and forgot to take any more pictures. It really broke down into two separate games. The fight around the depression had more armour from both sides thrown in and finding fire lines through the burning wrecks began to prove tricky and neither side really made any progress. On the other flank the German tanks caused problems behind the British lines, while in front of them the heavy Panzer IVs shelled the dug in infantry with their 75s, while staying at a range that the British anti-tank was ineffective. This gradual crumbling on the far flank eventually cost the Allies an extremely close game and I am keen to try some total war again in the future.

Wednesday, 2 November 2011

Club 2nd November

Luke and I continued our desert themed axis of attack campaign, with my Italians forced to attack in a hold the line scenario. As a primarily foot force this was always going to be a tough ask. I decided to try and use smoke more effectively and plastered his artillery with guns and mortars to prevent them shooting as I tried to push forward as fast as possible, flanking him with my motorcilisti and L3's.

However this was not enough and under constant heavy fire my relatively immobile force just could not bring enough combat power to bear, quick enough to force the breakthrough and the Italians were thrown back and yet again the attack moved in neither direction.

Saturday, 15 October 2011

Club Night 12th October

Luke and I headed up the club for mid-week game and decided to start an early war axis of attack campaign, with Luke using a Jock Column force and me using a Bersaglieri company. Our first battle was the Jock column attempting a breakthrough. Luke made a brave gamble by keeping his infantry as part of the flanking force and committing just his armour and artillery to the main attack. I used my numbers to surround him as best as possible and keep my armour in reserve.
I used my reconnaissance move to hurry my motociclisti into the town to my rear and occupy it ready to repel the flank attack
Luke through his armour at my forces, but a combination of 47mm gun fire and the amazing pluck of my fearless conscripts in the front line they defeated the first attack.
I then began to hammer the artillery with air power and my own artillery. By now my reserves had started to arrive, but the other element of the jock column appeared to be lost in the desert.
I even was able to launch my tankettes (my new favourite unit along with the mid-war L6 light tanks) against the 25 pounder battery. This proved the last straw and the battered attackers broke.
So the Bersaglieri had been victorious and are now on the attack and ready to push forward to Egypt.

After this shorter than expected game I tried to introduce Luke to Malifaux with a basic game. He took my Lady Justice crew and I tried out Pandora for the first time. And she is touch to play. Initially I seemed to have the edge with my multiple moves and distance spells, but once I got in too close Lady J and her Marshalls did what they do best and dispatched my physically weaker crew with ease.

Sunday, 9 October 2011

Club Night 7th October

Rick and I took an early war Compaignia Carri against Luke and Steve with a Jock Column defending in a fighting withdrawal. With all the fearless veteran RHA we knew it would be tough, and our 8 million bayonet rolls did not help us. We decided on a flank attack with the motociclisti troops attacking towards one objective, with the armour in the centre free to support or attack to another objective as the game played out.
The flanking troops hurried forward with tankette support and managed to destroy the universal carriers sent out to meet them which prevented their reconnaissance move. In the centre the armour force advanced on mass.
As the flank attack pushed forward we unfortunately lost our coastal artillery trying to move it into a less exposed position. Despite coming under artillery fire the Bersaglieri pushed on with their own artillery providing support. But now I failed possibly a key roll as I failed the motivation to perform an avanti move and dismount to enable me to assault the pinned down defenders.
With this failure and the appearance of the RHA 2 pounders in the centre we were on the back foot and beginning to take unsustainable casualties and eventually our company broke before we could threaten the British withdrawal.

Tuesday, 20 September 2011

Battle of Beda Fomm

Steve, Luke and I gathered for a mid-week game. We decided to try out the Beda Fomm scenario from Wargames Illustrated as with Steve's BEF tanks we could virtually do the exact forces. The British Combe Force deployed across the road while the Bersaglieri deployed at the far end ready to try and make a breach for 10th army to escape through (below).

The Bersaglieri advanced valiantly against a storm of British artillery fire (above), while the British armoured cars attempted to flank them, but were driven off by the Italian tanks, who then swept on as the British armour arrived behind them (below).
However the British opening volley failed to take advantage of this position and the return fire decimated them, as the rest of the Italian armour arrived (above). meanwhile the infantry had continued to push forward, taking heavy casualties, but managing to hang around and even attempted a very unsuccessful assault on the British lines (below), before finally faltering under the massed fire and breaking.
The British MkIVs has also arrived by now (below, cunningly using the mirrored wall to enhance their numbers) and began to attack the Italian artillery. Although this quickly proved fatal for them, they destroyed enough gun crews to seriously hamper the Italian supporting artillery fire for the main attack. The heavy losses to the British armour meant that if the Italians could break one of the defending platoons they could win, but the dug in infantry was going to prove too tough for them, and the Italians eventually broke after many turns of tough fighting, resulting in the destruction of the 10th army.
This is a really tough fight for the Italians and I think we were all surprised how close I actually came. I was even more surprised when I saw the following weeks Wargames Illustrated and found they had changed the scenario after more play-testing and made the Italians just have reserves rather than delayed reserves so they arrived much earlier, which could prove decisive. We will now have to repay it with the revised scenario and see if I can manage to save the Italian 10th army!

Sunday, 11 September 2011

Club Night 9th September

Steve K and I decided to play some Flames of War but to go back to mid war and not campaign enabling us to freely pick from the lists and use some troops we haven't used for a while and for Steve to try out his armoured cavalry regiment.

We played the Dust Up scenario from Hellfire and Back, and I immediately came unstuck. I was using my favoured Squadrone Esplorante, but Steve had reinforced his light armour with 2 Lee-Grant troops which would cause me big problems. And when he got the first turn, it went from bad to worse as he was able to shell my Lancia trucks with their 90mm guns and destroy them with ease. This then left only my 75mm guns with the slightest chance of dealing with the big British tanks ad he astutely avoided them.

Above: The heavily armoured British, Below:The Italian defenders

I managed to push the game to its limits with my reserves, but the outcome was never really in doubt and I lost. Fortunately we had time for another game. This time I was defending in a hold the line scenario which suited my forces slightly better. I remember it was a good game, but I have taken so long to write it up I forgot who won (probably means it wasn't me!), so moral of the story is to try and blog more regularly

Tuesday, 23 August 2011

Club Night 19th August

Luke and I decided to channel our excitement over the release of Hellfire and Back and actually play some test games. We played around with various lists that we could build using proxies from our mid war to count as for early war, although we were surprised how much we could do without needing any new purchases.

Our first game matched a Comaigna Carri from the Italians against a British Jock Column in the new dust up scenario. With the high quality of the British, especially the RHA, I had a numerical advantage, but would have to cope with Italians with considerably less training and experience than I am used to, although their individual bravery is as good as ever. Setting up in opposite corners with an objective behind us I started with mostly armour and some supporting artillery, while the British deployed recce vehicles and 2 and 25 pounders of the RHA.

The massed RHA guns hammered my armour as I struggled with the handicap of the slow tanks before they had their engines upgraded and so an unusual lack of mobility. The recon swept around my right, joined my the British reserves and drove towards my artillery holding my objective, leaving just my CO among the burned out wrecks of the Italian armour.

However, hidden as he was by smoke and dust they ignored him and he was able to inflict heavy damage on the light British vehicles and my gunners (traditionally always the elite of the Italian armed forces) held off the rest, while my motorcycle troops arrived from reserve and swept onto the enemy objective, holding it despite heavy fire from the RHA as the British suddenly realised the nature of the threat and tried to react, but it was too late the Italians claimed a narrow and hard fought victory.

Above: Brits Flank attack, Below: Italians seize victory

After this game we decided we had time for another game, this time a Bersaglieri company against a British Armoured Regiment. However we ended up playing the new witches cauldron variant on the cauldron mission, and with no infantry and artillery support the British would have a very tough time defeating the dug in infantry with primary machine guns. And this was exactly what happened, the Italians lost some force to the weight of fire, and the coastal artillery when it tried to redeploy when the British attacked only on one flank, but in return dug-in 47 and 75mm guns made short work of the enemy armour, with the extra luck of hitting and stopping the CS tanks early on too. A decisive Italian victory.

Also on was a Great Northern war game. This has been a pet project of Andy and Colin's for some time and to see it all set out on the boards from Tannenburg it looked amazing so I took a couple of pictures.

Saturday, 13 August 2011

Hellfire and Back - First Impressions

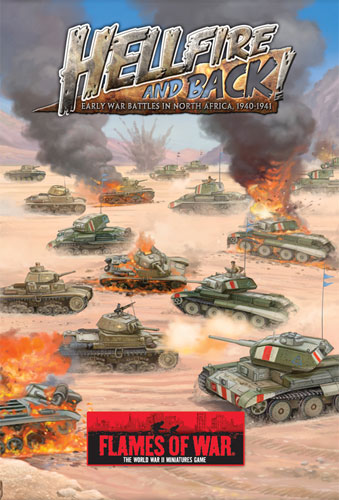
My copy of Hellfire and Back, the new early desert war supplement by Battlefront, arrived from Wayland Games this morning and I have barely put it down since. It has been just what has been needed to revitalise my Flames of War gaming as we come to end of our Crusader campaign.

At first glance I am really not keen on the cover artwork, something about the perspective seems out and it lacks a strong focal point. Inside however it is a different story, the usual mix of artwork, mini photos and period photos illustrate it throughout. If you have nothing else to say about battlefront you can not fault their presentation and the quality of their printed products.

I haven't really looked at the German lists so I will just focus on the British and Italian lists and all the extra stuff. First up, the Italians. As usual they are slightly the poor cousin with only 4 lists, but they are all really good. Organisation is different for the infantry as expected for pre AS42 lists, but seem accurate and balanced. Points have varied which is as expected as quality for troops in 8 million bayonets has also changed, much less veterans so this will change the way they play a bit. The other odd thing to have changed is the stats for some vehicles and guns. I'm not sure about the rational about this, but it is going to be confusing when you also use the same vehicles in mid-war with different values.

The British have many lists, split between British and Commonwealth forces and include the terrifying looking Armoured regiment, just by the sheer number of vehicle they will have with a gun quite capable of knocking out their Italian equivalents, even if their armour is considerably left. The rest of the forces cover the other armoured forces, 'jock' columns and infantry forces. The reconnaissance forces look interesting with their ability to move an opponents objective after deployment. This could make them a really viable force to play with.

The new rules primarily cover the fortification force that are available (1 for each nation) and how these work. The basic rules are basically the same as the rule book but they deploy differently. making little self-contained positions separated from each other, with reserves to arrive to support them. It will be interesting to see how these play, especially as with the Italians I can have a CCNN forces. The other rules are the motorcycle reconnaissance rules which I understand are the same as in blitzkrieg, and should change the way my motorcilisti troops play (although I will need quite a few more bases to make a force).

The final part of the book (aside from the historical background which I haven't read yet) is the terrain rules. These provide variable terrain types that you don't roll up unit you get close enough (I.e. in contact) to see what is actually there. The only thing that I feel is missing is rules for deploying the templates on the table, like in the main rulebook. I think we will be modifying the desert terrain chart there to incorporate these new terrain types.

Overall it seems to be a really good book. I would have liked to see a fuller set of terrain rules, and more Italian lists, but seems really good, and opens out a period of the war Luke and I really like and we are already talking about what we are going to add to our existing forces so we can do some Operation battleaxe battles. I would give the book a 4/5, pretty good, but not quite perfect! A battle report should be coming next weekend.

Monday, 25 July 2011

Club Night 20th July

At the second attempt Luke and I managed to get the penultimate campaign game played. All that is left now is a grand finale as the Axis forces make their final grand assault on Tobruk. Out first attempt was aborted due to the need to look after children at the last minute, but meant Luke and I still got a board game in. In this case it was Axis and Allies D-Day, and everything went the Allies way and as the Axis I barely manage to make a fight of it until the last turn, but was still fun.
Still, a week later we managed to launch Ariete against a mixed Indian and armoured force in a hold the line scenario. The massed Italian armour advanced in a cloud of dust, with the AB-41 recon unit advancing out ahead towards the nearest objective, held by allied infantry.
I assaulted this light armour straight into the Indian defences and drove them back, pushing them off the objective.
A second assault by a supporting tank platoon took over from where the armoured cars had been destroyed by the Bofors guns and almost wiped out the defending platoon, dominating, but not taking the objective.
The Allies then sprung their ambushes, with the hidden 2 pounders firing into the flanks of the armour, with the MGs shooting up the supporting motorcilisti troops (we have a house rule for the desert that a foxhole can count as concealing terrain for the purposes of ambush, if what is in it receives concealment). In response I hurled all my armour into the area around the objective.
Unfortunately I chose to join a platoon that was just below half strength with my company commander, and despite both units being fearless, failed my motivation check, and the re-roll from the C-in-C. I now needed to push the enemy off the objective to claim victory before I had to take a company morale check. But Luke continued to deny me, by just getting his reserve Stuarts in a position to deny my victory time and time again (1 turn it was only by managing to re-crew an abandoned tank).
Despite how close I got, my troops were all bunched up and under continued artillery fire and anti-tank gun fire, and finally casualties mounted before I could drive the enemy back, and my company broke. To add insult to injury post game I had a battalion destroyed and another damaged in the campaign.