Showing posts with label Painting. Show all posts

Sunday, 20 November 2011

Painting Napoleonic French Line (Pic Heavy)

At Warfare the Skirmish Wargamers planned to run a very non-skirmish using black powder on a 20 foot long table set during the Liepzig campaign. I agreed to plan and umpire the games, but when I got the army lists I noticed there was no line infantry for the French and mentioned this to Mike who said "OK, I'll send you some, paint them!" I agreed, not really thinking through that this would mean I would have two weeks to complete them as well as plan the games and do all the resources to help make them run smoothly.

When the figures arrived from Mike the first thing that struck me was that they were Armies in Plastic (AIP) elite infantry, so were not line and all the officers were the same. The first job was to base them up (fortunately I had some spare bases), trim the epaulettes and plumes from my centre company figures and convert the officers. I decided for variety I would make each 12 man unit up of 6 2 man companies just like a real battalion, a Voltigeur, a grenadier and 4 line companies. They are not quite perfect as they still all carry hangers, but needs must and they are close enough.

Above and Below: Unpainted figures converted and based
Above: Converted officer, Below: Unpainted Tradition metal figure for regimental commander.
Above and Below: Figures sprayed grey primer and then white airbrushed on where appropriate
Above and Below: Coats painted below and paper flags tested out
Above: Red trim base coated, Below: Flesh, green and yellow base coat
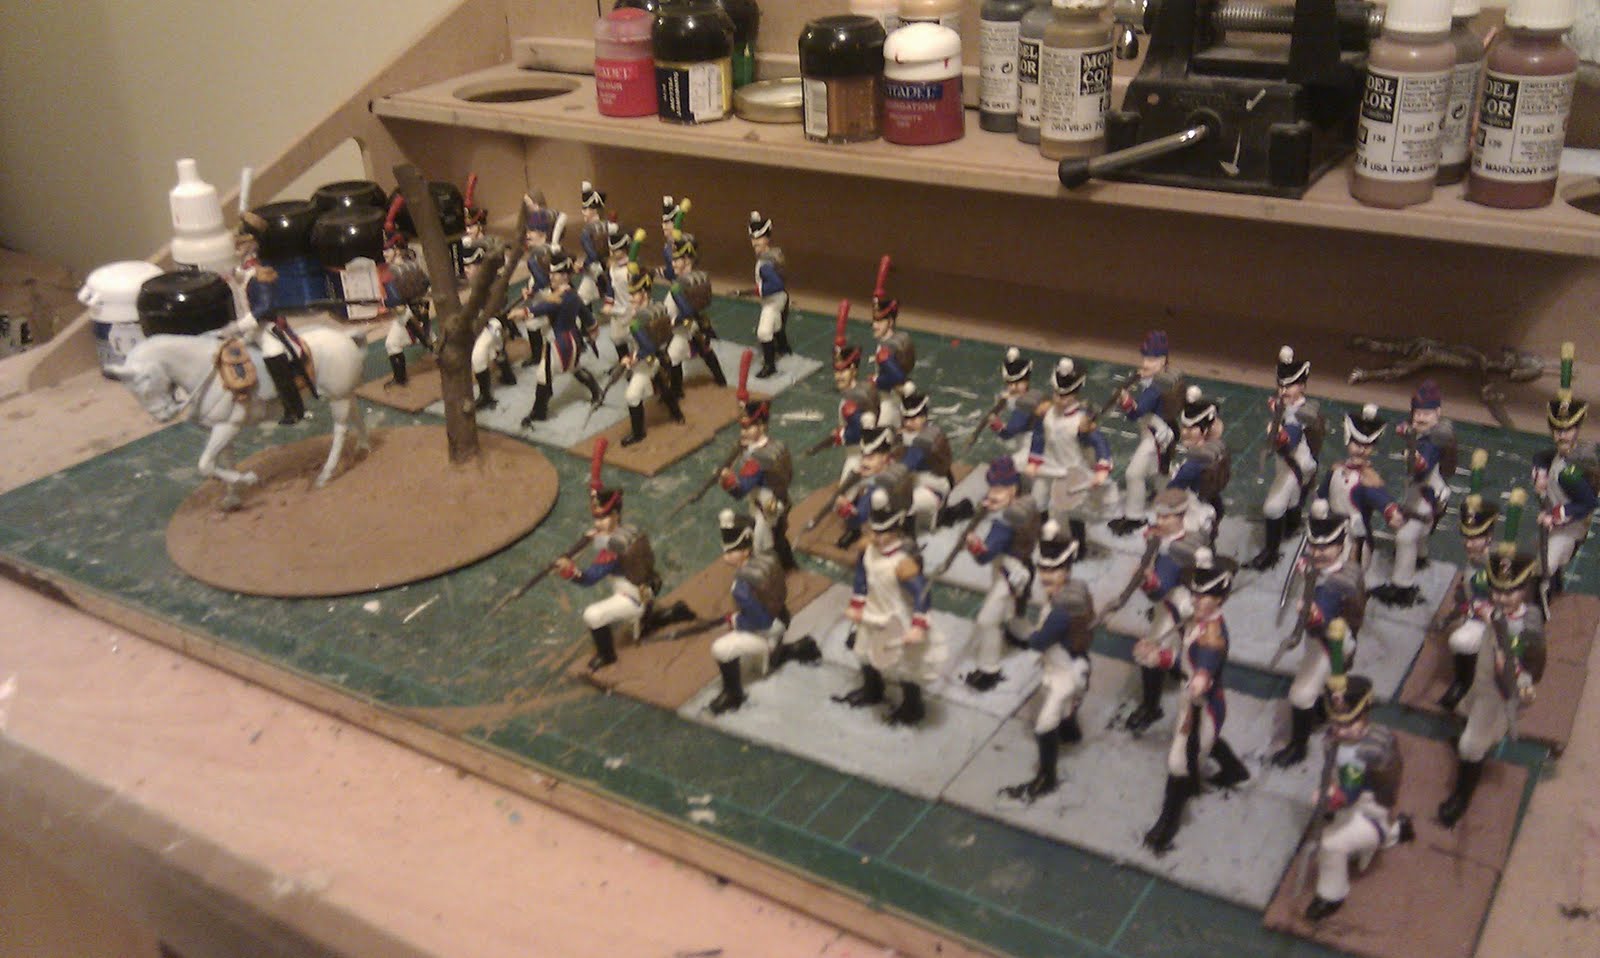
Above and Below: Voltigeurs and Grenadiers highlighted and bases painted
Above and Below: More shots of the flank companies
Below: The centre companies bought up to the same standard as the flank companies
Above: The entire regiment of 3 battalions, Below: Command receives a coat of army painter
Above: The whole force covered with army painter and bases dry-brushed, Below: Matt varnish applied
Above: The completed force

Not too bad for 10 days work! Now it just remains to see how the 13eme Ligne perform on the battlefield.

Sunday, 9 October 2011

Club Sunday 2nd October

As the club met for our usual Sunday I decided not to game but to take advantage of our Indian summer and the outside space to get some painting done in the sun so I sprayed the base colours on Steve K's infantry tanks and primed my next wave of Dystopian wars.

I managed to actually get the Dystopian wars ships not just primed but painted to completion and army painted then when I got home, ready for basing and flat-coated. They are looking good and I will bring some photos when they are finished.

Tuesday, 20 September 2011

Blood Angels XI - Almost finished

I have the final touches to my last units of Blood Angels. That is the whole company now completed, just need some flat coat to finish them. I will then take and post some pictures of the finished units.
Above: Tactical Squads, Death Company and Honour Guard,
Below: Assault Squads, Dreadnoughts, Land Speeder and Terminators

Above: Command, Veterans, Below: The entire company

Thursday, 8 September 2011

Painting Blood Angels Step by Step

I have decide to try and photo the painting of my Sanguinary priests step by step so you can see how I work if your interested.
1. Prime miniatures with Citadel spray gun and Mechanite Red GW foundation paint2. Highlight armour with GW Blood Red applied with airbrush. I spray from level and above only so there begins to get some shading appear.

3. I then washed the armour with GW Baal Red wash to enrich the red and provide some guidance for subsequent painting.
4. For the sanguinary priests I found after the red was painted some of the crosses I had filled on the Death company parts were still visible so I refilled them and touched up those areas using the same colours as 1-3. I then put a base colour of Astronomican Grey GW foundation paint over any areas that were going to be white or gold.5. I then over-painted the areas to be white with Vallejo off-white and black areas with Vallejo black.
6. I then washed these areas with thinned GW Badab Black wash to provide some crisper depth than the army painter will give.7. I then repainted the white areas using off-white again over the washed areas
8. Next I painted metal areas with GW Boltgun metal
9. All bone areas and scrolls and purity seals were base coated with GW Dheneb Stone
10. All the gold areas where painted Vallejo Old Gold, I like this as its a nice deep aged gold. It takes two to three thin coats to build this up but its worth the effort.
11. It was now time to clean up the paint job again. With the amount of detail on these there is more areas that need cleaning up than usual. This is just a repeat of the colours used in steps 1-3. At this step I also pick out the blood drops and purity seals wax seals in Mechanite Red. I painted the eyes lenses Knarloc green at this point too.
12. The eye lenses are painted GW Scorpion green and white dots added. The blood drops are highlighted with GW blazing orange.
13. The next four images are almost the final steps. Highlight the blood drops and the vials with GW Sunburst yellow and off-white dots. It was also at this step any bone areas were highlighted with GW Bleached bone.
14. The final painting step is GW Codex Grey highlights to the black areas and GW Vomit Brown to the red areas. Unfortunately I forgot to photo this step.

15. Army painter. I use the strong tone and apply with a brush. Once I have brushed it all over, I wipe the brush clean and start lifting off any army painter that I don't want to leave shading in the recess and not affect the colour of the raised areas too much.

16. Bases and Transfers. Bases are painted whatever dark brown I have to hand, usually either GW Scorched Brown or System 3 Artists Burnt Umber, then over-brushed with bubonic brown, before a dry-brush of bleached bone, with the edges repainted bubonic brown. The decals are the standard Blood Angel chapter badge with one wing chopped off for my chapter badge. I complete my scrolls with a fine permanent pen


17. Final step is to flatten the shine from the army painter. I use the army painter anti-shine as it is made to go with army painter so as long as I follow the instructions I should be fine.

Friday, 29 July 2011

Blood Angels X

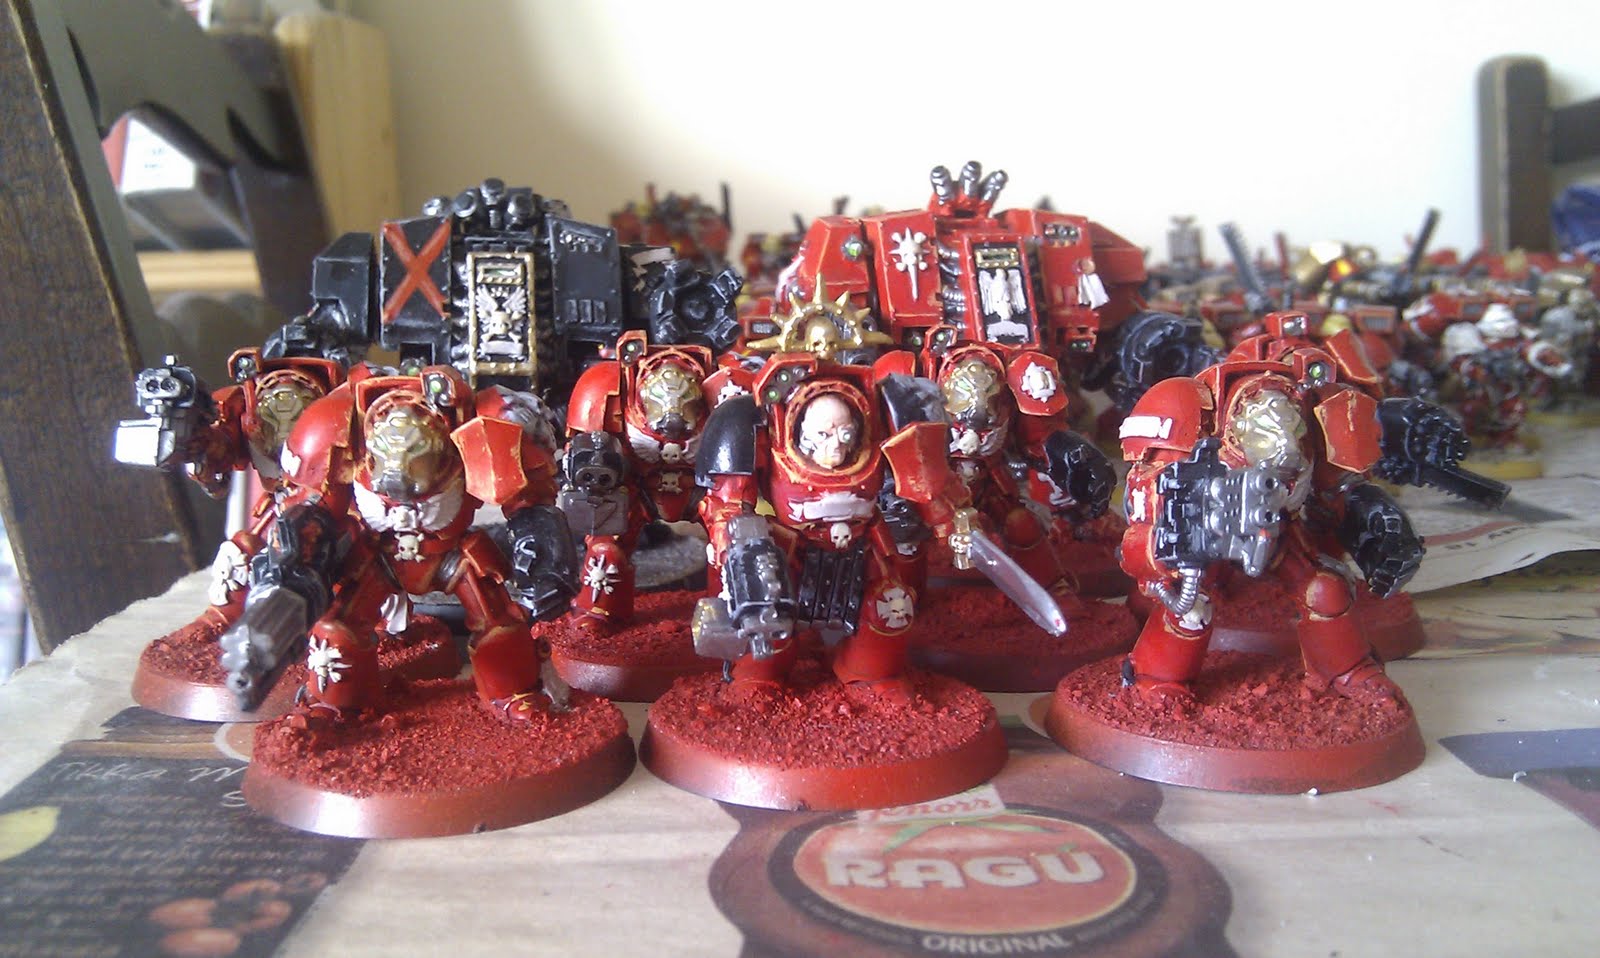
The Blood Angels continue to progress. I have finished the basic painting on my Terminators and Dreadnoughts, so they just need basing and army-painter to complete them.
Really pleased with how these have come out, and no just have 40 marines (2 Tactical squads, a final Assault Squad and 2 5-man Devastator squads) left to go and all the Marines for the entire company and its support are done. I then need to make a final decision if I am going to do the drop pods or not.