We played a Pegasus bridge scenario organised by Ted using a new set of rules written by our group called Tales of Derring-Do! This a re great fun and have many of the elements of the classical Skirmish Wargamers rules but updated to be far more playable, and I look forward to trying them out some more.
 Mike managed to pick up a lovely little plane from Traditions of London. It is a cheap Chinese tin-late job, but the one they had painted up looked unerringly like an Auster so perfect for SOE and partisan games. I took it away with me to fill the edges and then spray in green. Below is the model after I had given it a gentle rub down with some fine sand paper to remove any irregularities from the surface and some of the glossy paint so any coat I apply takes a bit better. A bargain for just £15.
Wednesday, 30 March 2011
London Toy Soldier Show, 26th March
Club Night 25th March
Tuesday, 22 March 2011
Club Night 18th March
However the long range rockets began to take their toll and I lost a number of my Cruisers. But as the fleets closed I got my major piece of luck as I hit the FSA battleship with some long range fire and shredded its defences. Taking advantage of its vulnerability I sent in waves of dive bombers on the defenceless ship, followed by boarder and took the battleship.
However my battleship was also heavily damaged by now and was struggling to defend itself against the surviving enemy frigates.
As the early hours of Saturday morning dawned we called it a day and after totting up the victory points it was a narrow victory to the Prussians. The FSA has lost all their support vessels, their carrier was damaged and the Prussians held their flagship, while the Prussians still had their Airship and 4 frigates left, and a heavily damaged, but still floating battleship.
Club Challenge, Warlords vs. Crawley
Some of the highlights though were John-Paul's beautiful Kreig guardsman (it was also his traitor guard that where so inspirational last time).

Another highlight was also thanks to John-Paul as our Traitor Baneblade opened up on the loyalist Macharius and punched through its armour and triggered a chain reaction that resulted in a massive explosion that also killed a number of the surrounding troops.
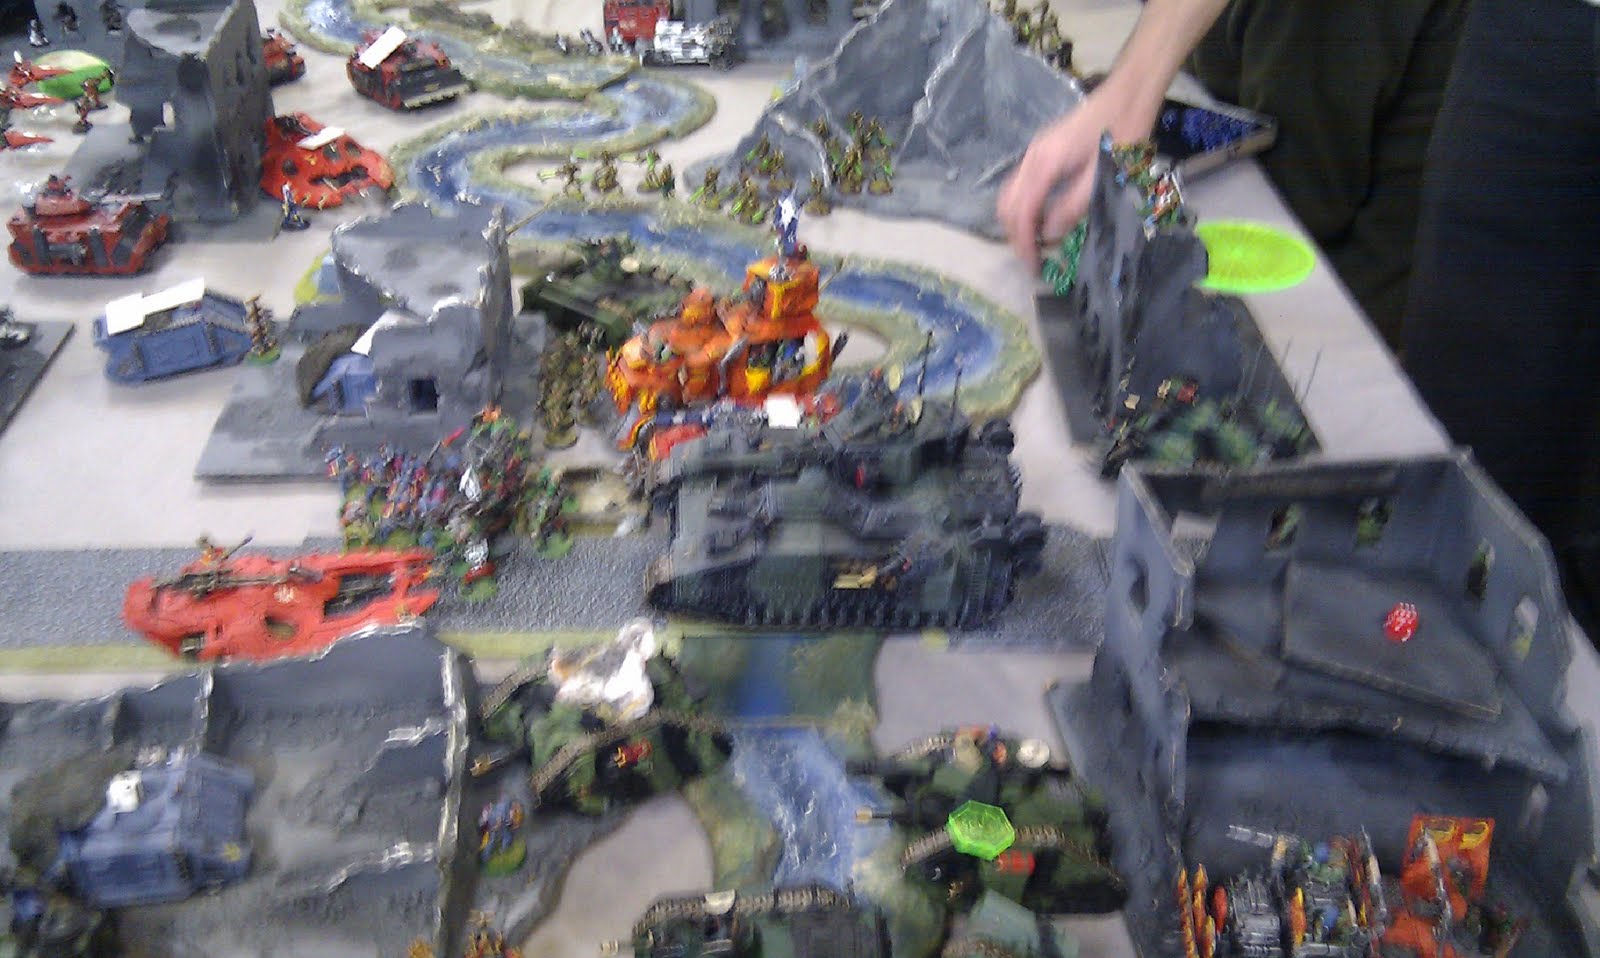
 We lost this game in the end as we failed to cross the river in sufficient force to make an impact on the enemy.
Despite the result I would still like to do some more games with the Warlords.
Club Night 11th March

Unfortunately I have taken so long to write this up I can't remember who won, but I do recall that our 17 pounder failed to hit the Tiger, and on the odd occasion they did they bounced off the armour. And that Chris' new self propelled guns looked really good. Can't wait to see them with some crew added.
Thursday, 10 March 2011
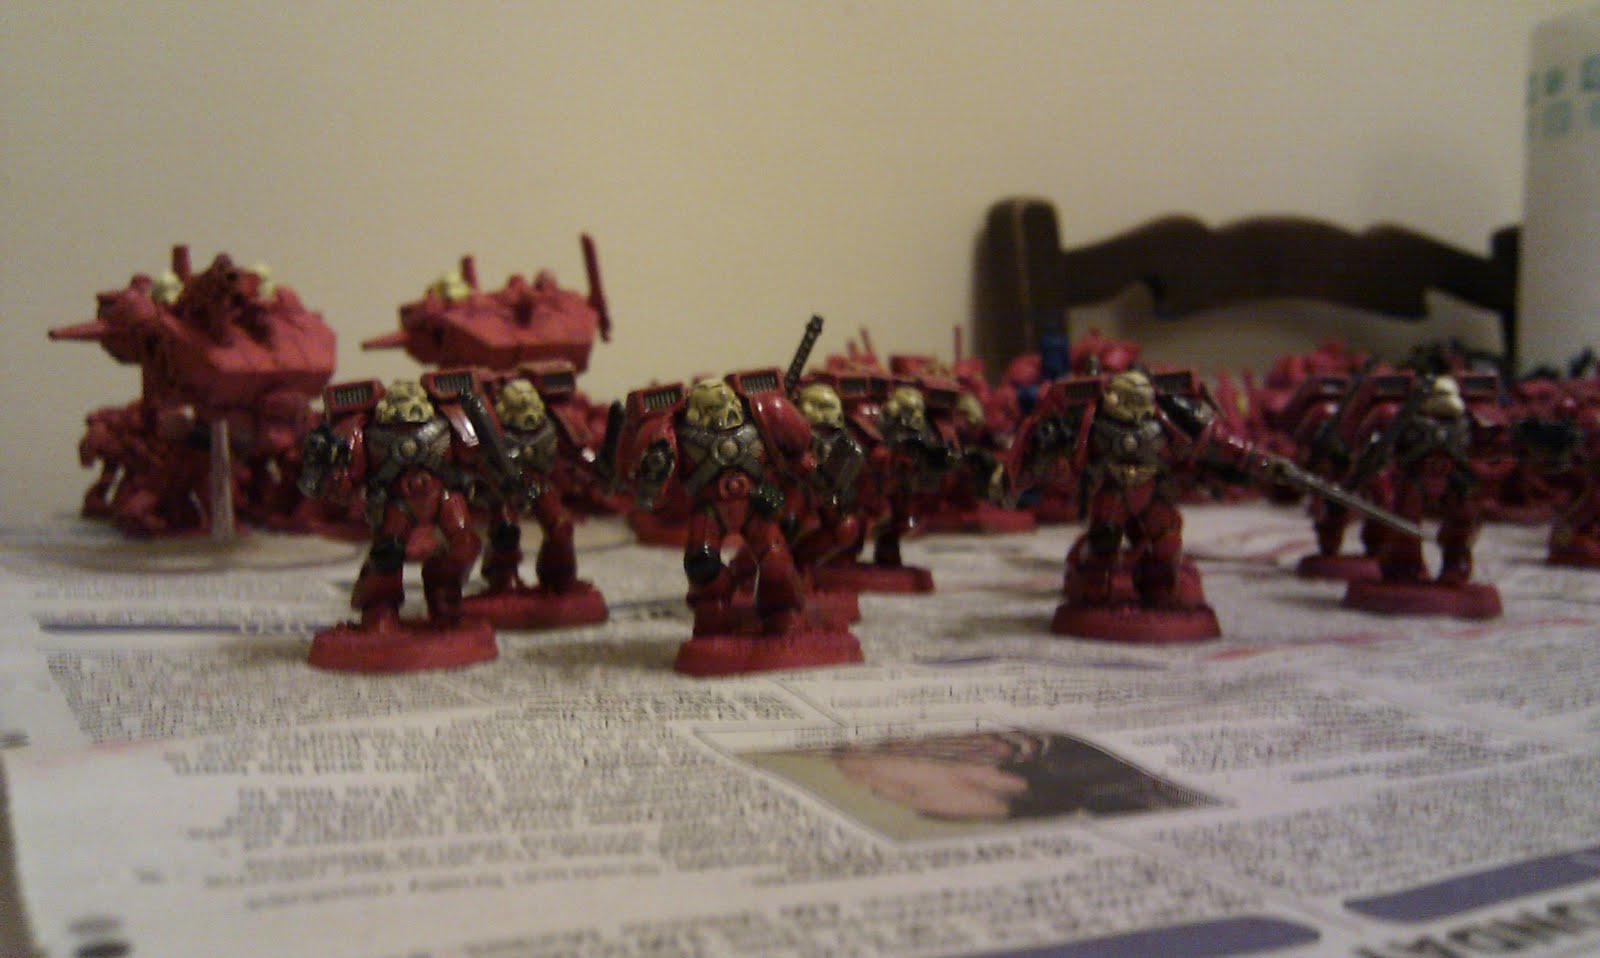
Painting Blood Angels IV

Monday, 7 March 2011
Painting Blood Angles III
 Above & Below: Some 'dipped' figures and some still to go to show the difference. Very shiny as still wet!
 Above: Tactical Squad, Below: Captain and Honour Guard
 Above & Below: Assault Squad
 Below: Death Company
Sunday, 6 March 2011
Club Sunday 6th March
The Union began by advancing through the woods on my right and generally along the majority of their line. I moved my cavalry forward into the woods to harass the column and advanced the two advanced brigades.
However my cavalry was not able to stop the columns effectively and they deployed into skirmish lines and began to drive through the woods. The centre of my line had advanced, but only with two regiments, that now found themselves exposed and coming under fire from their front and right flank and began to take heavy casualties, before finally breaking. Meanwhile against my right the Union left had tried to advance, but blundered and fell back, but I was not able to take advantage of this as my supposed better commanders where proving to be anything but.
By now on my left the Yanks had pushed into the woods and a worrying gap was beginning to open up so I had no choice but to order the third brigade to advance which it did with surprising alacrity compared to the rest of the army and quickly pushed into the woods and started a drawn out fight that would eventually see the Union troops pushed back by the confederates.
However this was too little too late as the survivors of the second brigade had advanced to try and plug the gap left by their comrade and came under the same intense fire, while the right advanced piecemeal and although 1 regiment drove through the enemy lines the others where taking heavy casualties from fire and the Union brigade had finally extracted it self from the woods and was turning the Rebel flank.
Tragically this meant a decisive victory for the Union, Steve had written a good scenario, with the northerners having the advantage of bigger units, but poor commanders, but my dice rolling totally failed to take advantage of my better command and the greater size of the Yankee unit eventually told in the battle of attrition the firefights degenerated to.
Painting Blood Angels II
 Above: Tactical Squad, Below: Death Company (Taken with flash so you can see them!)
 Above: Assault Squad, Below: Honour Guard
 Above & Below: Sanguinary Noviate
 Above & Below: Company Blood Champion
 Above & Below: Commander Remiel
 Above: Commander Remiel, Below: Detail on Remiel's shields on his shins.
 Below: Remiel and his honour guard
Club Night 4th March
The first game was a hold the line with the Germans defending. Initially my reconnaissance force did its usual job of rushing forwards and overrunning the front German lines quickly. This forced Chris to keep sending troops forwards piecemeal to deny my victory, until his armour arrived and I had nothing to stop the heavy armour and my company broke.
The second game was a breakthrough scenario and again I used my speed to flank the defending Germans and push them back and managed to destroy the first platoon and the kampfgruppe with the antitank guns in. However on the other flank my artillery failed to impact the German armour in the direct fire role and were destroyed by the counter fire. My company then broke before my reserves arrived.
Meanwhile Duncan was commanding an attack by 90th Light against the South Africans who had been beaten back earlier in the campaign. After some initial difficulties the reserves arrived and Duncan was able to claim victory and wipe out one brigade and seriously damage the other.


